
Still, I was psyched about all the pretty patterns I picked up and itching to do some sort of craft with them, so when I came across this upcycled plastic clock project in the book, Mod Podge Rocks! by Amy Anderson, I knew I had struck gold! Not only does this project make use of many different types of washi tape, it also asks for repurposed Scrabble tiles, which I had a whole box of. I also had a perfectly ugly cheap clock I had no qualms about taking apart.
Before

After

To make this oh-so pretty timepiece, you will need:
- Matte Mod Podge (available at Michaels and other craft stores)
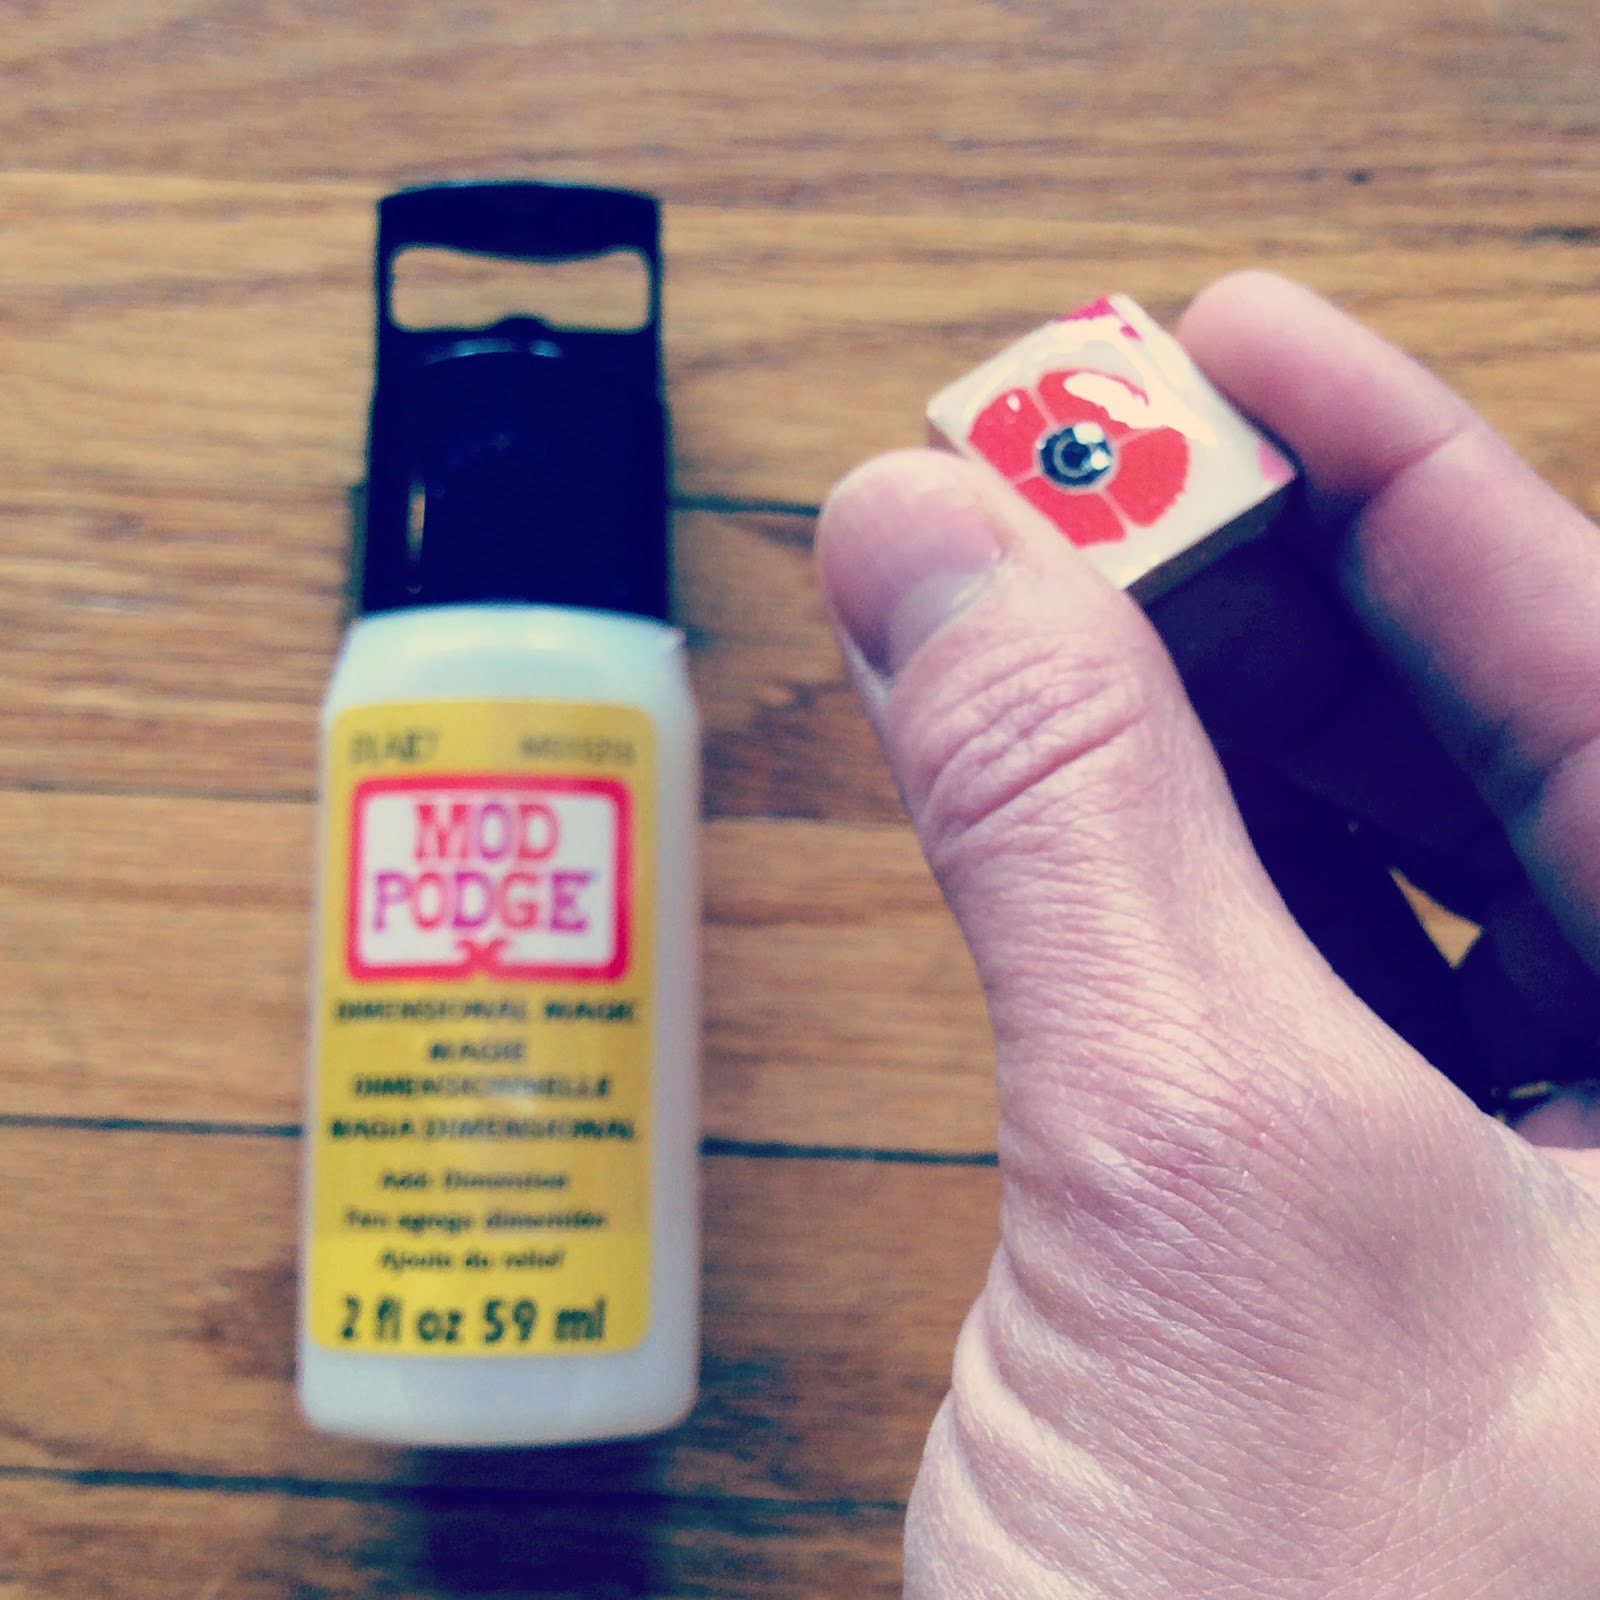
- Dimensional Magic Mod Podge
- Inexpensive clock
- 1 sheet of scrapbook paper
- Repurposed Scrabble tiles
- Washi tape in a variety of patterns
- X-Acto knife
- Glue gun and glue sticks
Begin by carefully removing the clear plastic cover and hands. You can use the cover to trace a circle onto your scrapbook paper and then cut it it out. Position the paper over the clock face and mark a dot where the hole is for the hands. Then remove the paper and make a small "X" over the dot with your X-Acto Knife. Apply a medium layer of Matte Mod Podge to the clock face, position the paper over it and use your fingers to smooth it down. Allow it to dry. Apply two topcoats of Matte Mod Podge to the paper, allowing the first coat to dry before applying the second.

Using your X-Acto knife, cut your washi tape to fit one side of your Scrabble tiles. Apply the Dimensional Magic Mod Podge to over the top of the tiles. (You may need more than one coat to achieve the desired dimension.)
Use a glue gun to attach the tiles to the clock face and replace the hands and cover. (If the hands are too long to fit over the tiles, you may need to trim them with scissors--or wire snips if they're metal.) Ta-da! You are DONE! Now go hang your brand new, beauteous clock somewhere you can admire it and bask in your DIY prowess!


