Last weekend we gave Violet's room a makeover, and it has become my favorite project to date! For those of you who know my five-year-old daughter, she definitely has her own sense of style. Part Jersey Shore, part rock-and-roll...what it ain't is remotely girly. But I wasn't ready to give her a skull and crossbones room (although Graham & Brown has a cool wallpaper for that: http://www.grahambrown.com/us/product/19911/skulls), so I went with this stunning pattern from Graham & Brown called Funky Flora, designed by 1960s British fashion icon Barbara Hulanicki.

The daisies are flocked velvet on an almost sheer, rice paper like background with tiny gold threads running through it. On the one hand it feels very sophisticated (especially in the inky purple, almost black shade), but the retro flowers give it such a happy vibe that I thought it could work in a kid's room. Still, I had some reservations: Would it be too overpowering? Too "old" for a five-year-old? As soon as I caught my first glimpse of the half-finished wall (that's my husband, the master wallpaperer), I had my answer. It was just perfect.
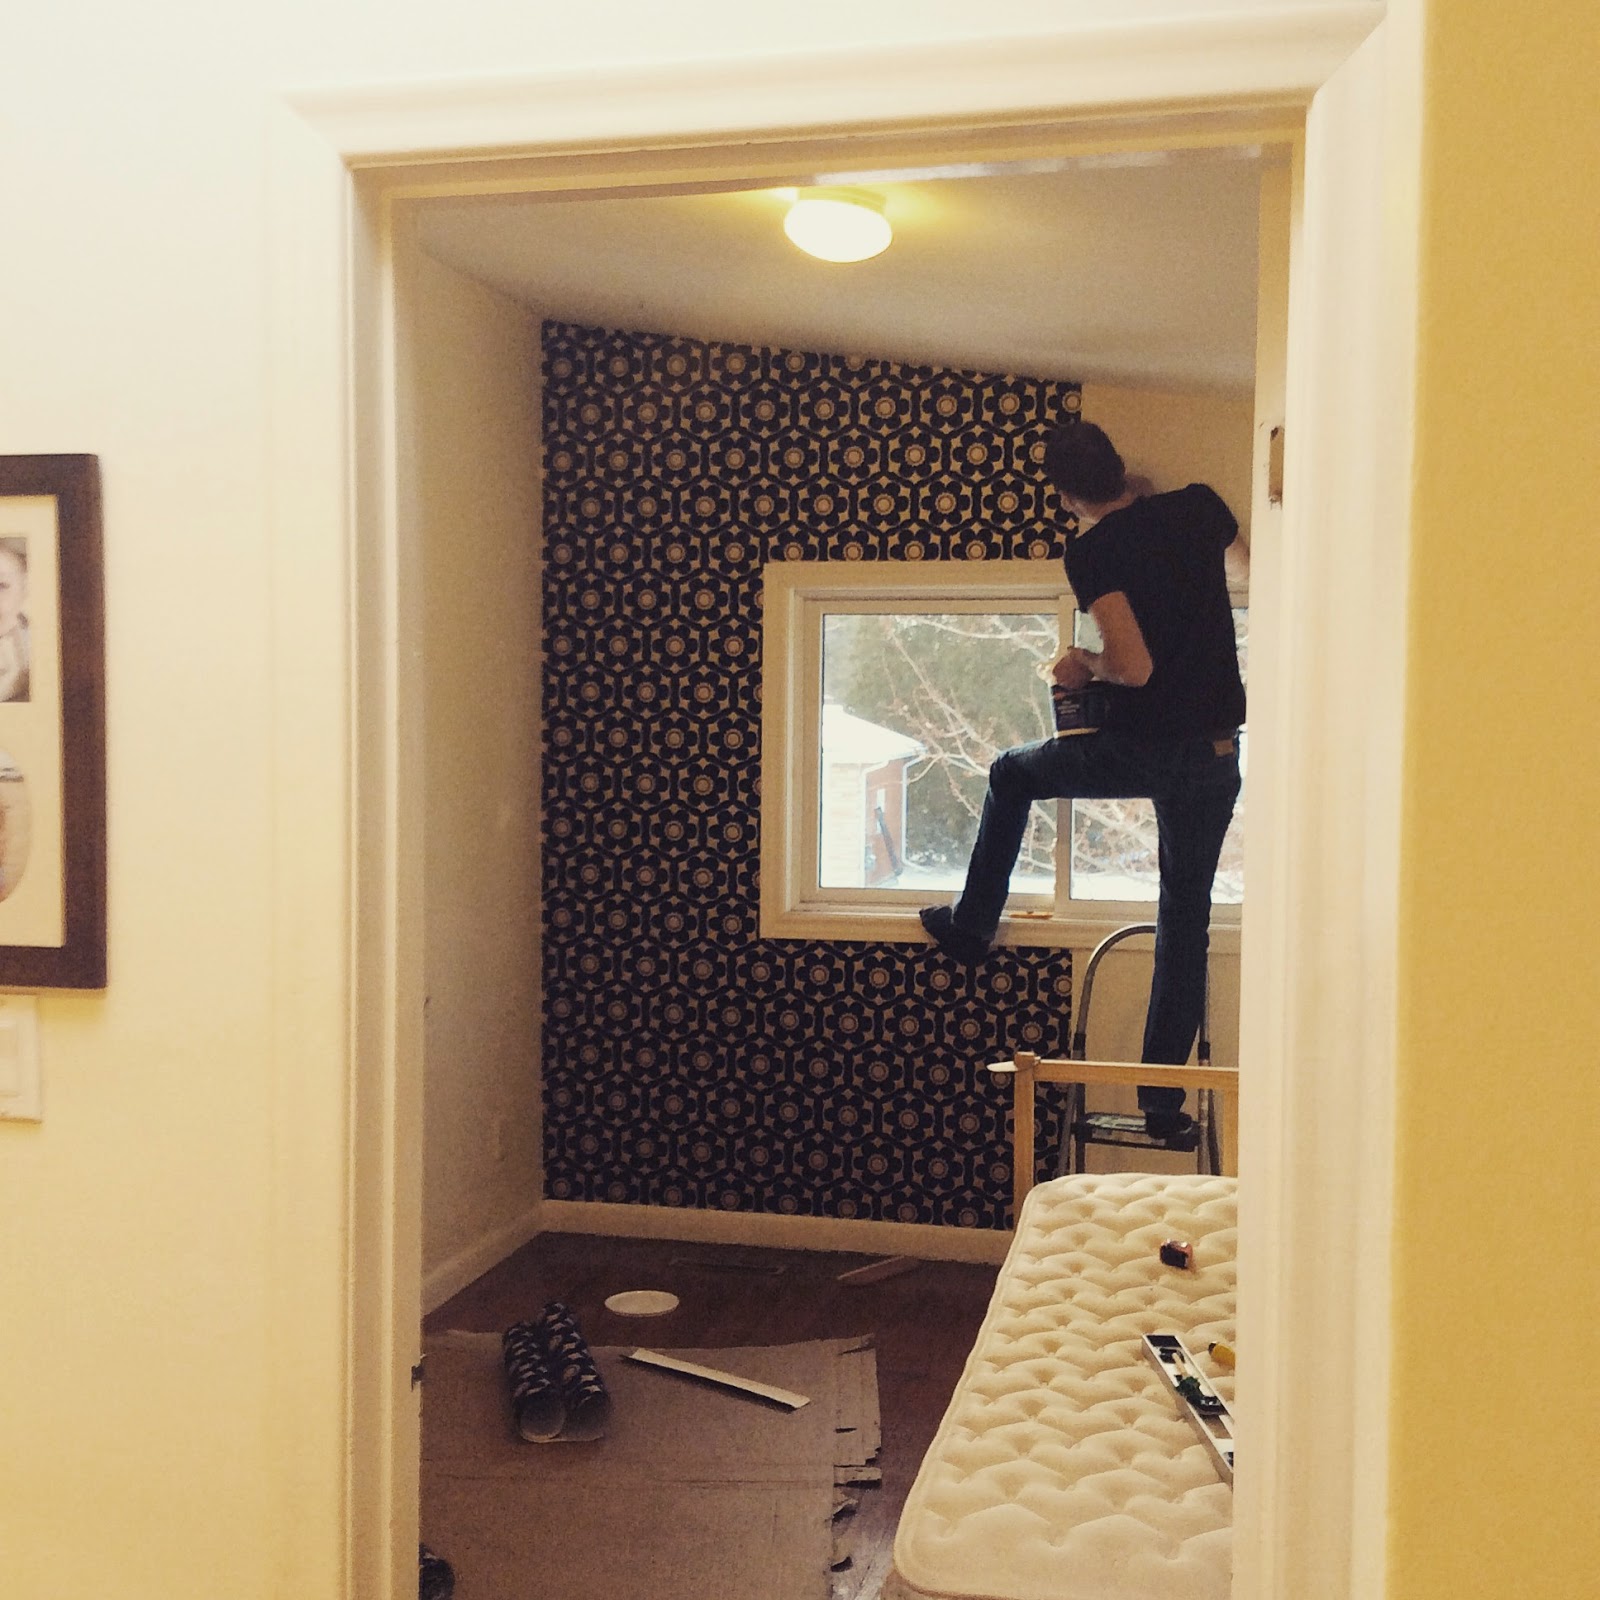
We did decide to only do one "feature" wall, as opposed to our original plan to paper the whole room. and I think this helped to keep the room feeling lighter. I love, love the result...and so does Violet!
Before

After

I changed the furniture around in Vi's room to create a little play area for her on the window side of the bed, while her chest of drawers and a mirror take up the opposite side. This layout gives the room more dimension and actually makes it feel larger. The canvas screen prints on the wall are from All Things Grow (www.marcydavy.com).

When it came to dressing the window, I decided to install a roller blind instead of curtains, as curtains covered too much of the wallpaper. I left the rod up so I could hang a garland from it (every little girl's room needs a garland if you ask me, even if your little girl dresses like Eminem) and that way it'll be all ready to go if I ever decide curtains are in order. To keep things bright and cheerful, I added a yellow quilt and framed some of Violet's paintings.

I am totally hooked on wallpaper now. It has an impact you just can't get with paint and it's a lot easier than I ever thought it would be, especially with G&B's "Paste-the-Wall" paper. It only took my husband about two hours to do this wall from start to finish. So maybe I should say it is easy when you have a husband who appears to possess a natural talent for wallpapering (he claims there is "an art to it," which I'm beginning to believe after struggling with making the toy box pictured). Still, if you have the right tools and a smidge more patience than I have, I trust you can do this. :)
If you're interested, keep reading for a step-by-step pictorial of how to put up that wallpaper you've been dreaming about...
What you will need:
Wallpaper
Wallpaper paste
Brush or roller for paste
Wallpaper brush
Scissors
X-Acto knife
Stainless steel ruler
Seam roller
You can buy a wallpaper tool kit at most home improvement stores for under $15 that comes with all of these items, minus the scissors and paste. That's a pretty snazzy deal, imho!
Now that you've got the tools, take the time to prep your wall before you start. Fix any imperfections (i.e. fill large holes) and sand smooth, then get rid of any dust. Make 50 lb puppies and curious children watch from outside the room, and you're ready to roll...err, unroll and paste, that is. ;)
Step 1: Paste the Wall

Starting at the left-hand side of the wall, use a roller or a brush to spread the wallpaper paste on the wall for the entire length of the strip you are using and a bit wider than the paper's width.
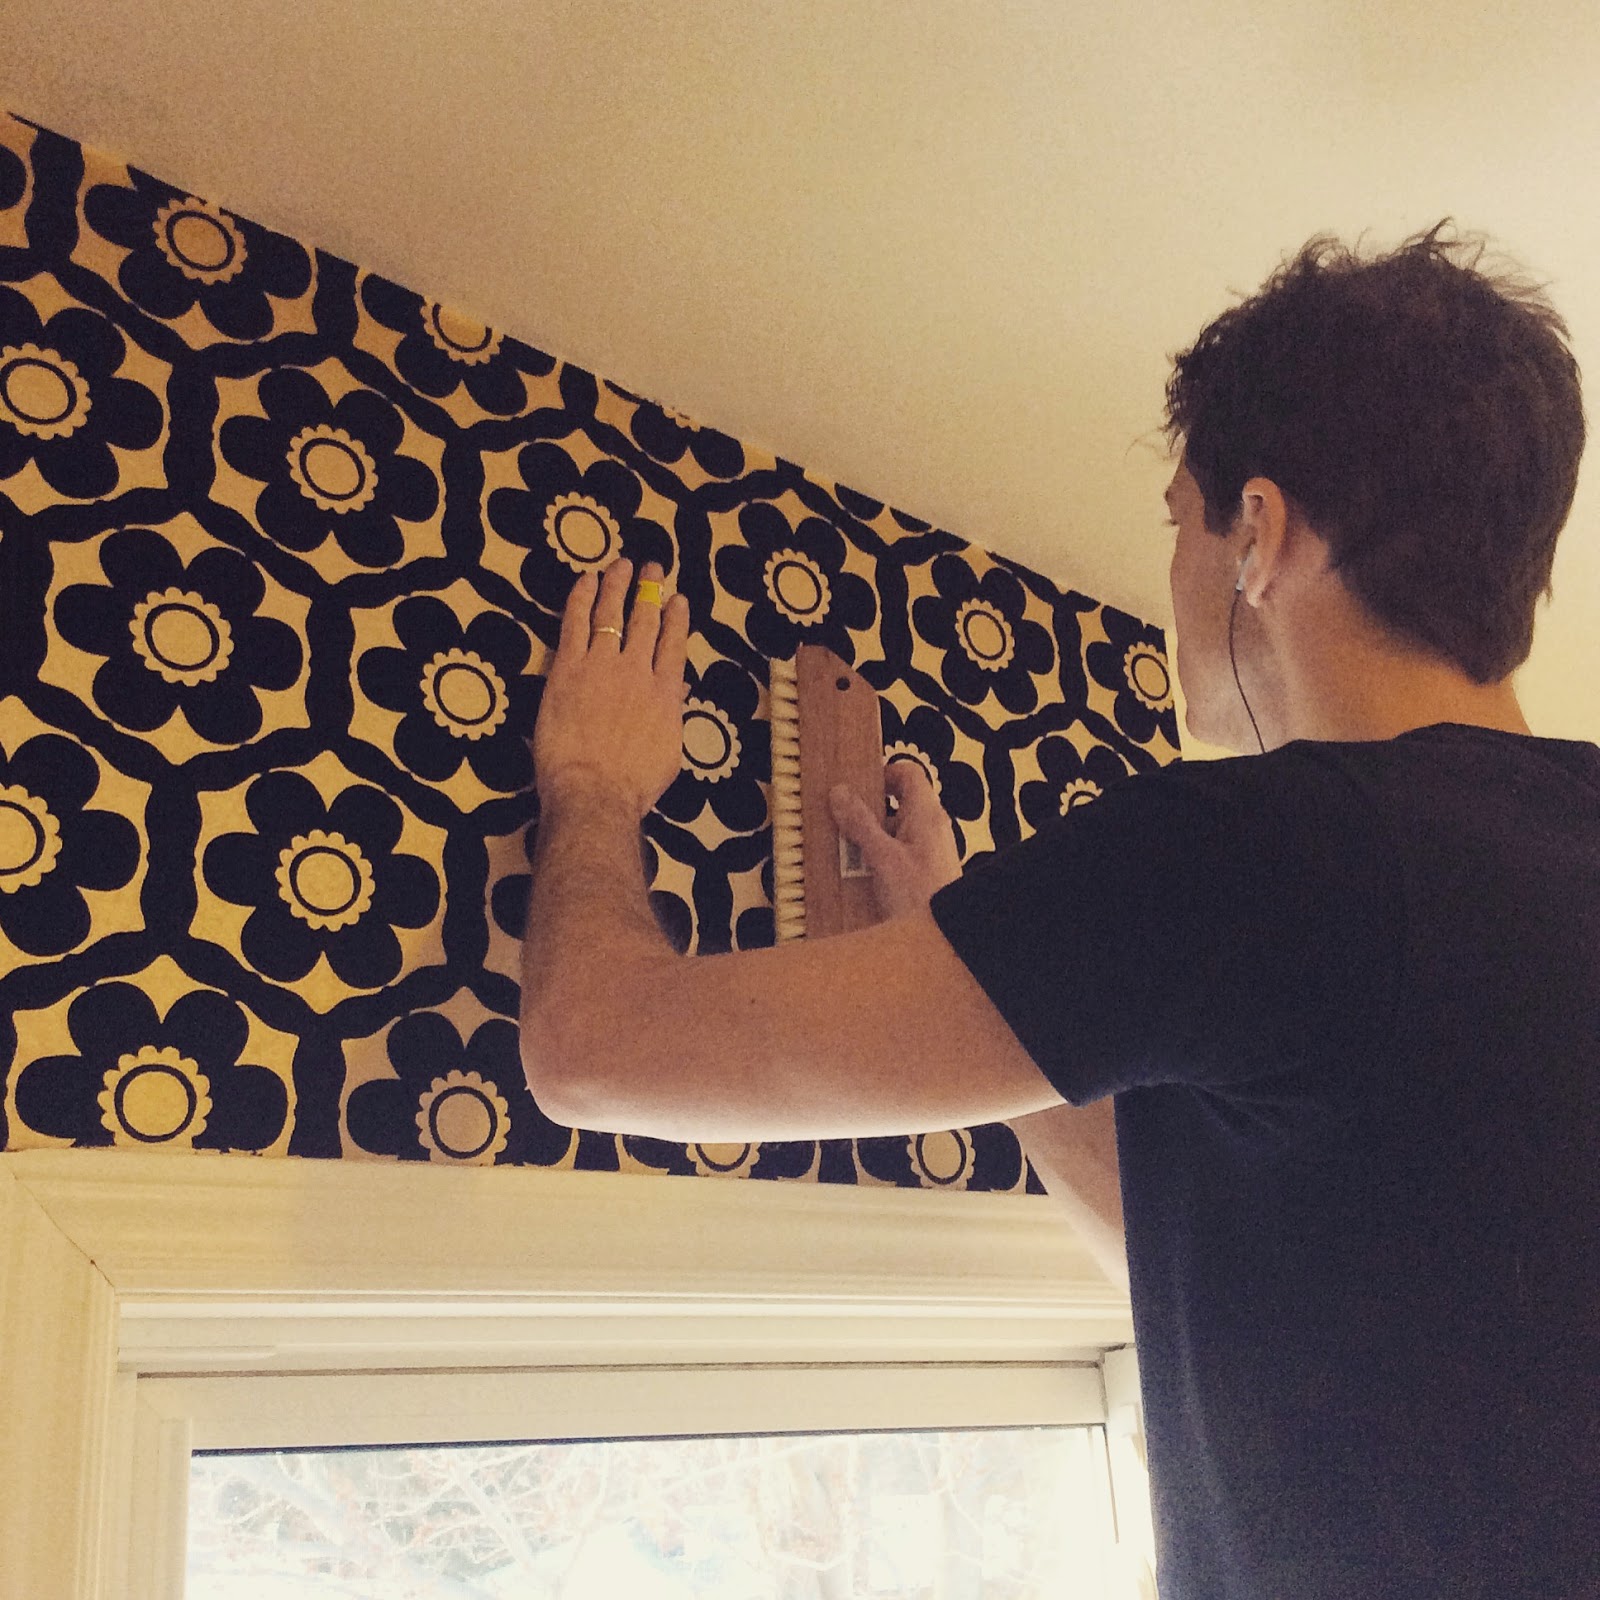
Step 2: Hang the Paper

If you are doing the whole length of the wall, you can hang directly from the roll. Unroll paper and position the top edge near the ceiling. Smooth with the wallpaper brush as you work your way down the wall. For subsequent pieces, you will need to make sure patterns match up. When working with smaller areas, such as around windows, you may want to measure and cut your pieces first, remembering to allow for any pattern match when cutting. Always leave a couple of inches at the top and bottom for trimming.
Step 3: Trim Excess Paper

Using a straight edge and an X-Acto knife, carefully trim extra paper at the top and bottom. (Note: This is trickier with flocked or textured wallpaper than the smooth stuff.)
Step 4: Smooth Seams

Once you have two sheets up, use your seam roller to smooth the seam by running the tool down the paper where the sheets meet.
That is pretty much it! If you can manage to stay focused on the work when responding to annoying comments like, "You haven't even started yet?" "That's all you've done so far?" you will be well on your way to success. Better yet, ship the kids off to Grandma's for the afternoon. Then, when you're all done, stand back and admire your handiwork. Stand back and admire it some more. And prepare yourself to do it again in a few months. I'm telling you...once you've wallpapered one wall/room, you will want to wallpaper every wall/room in the house. :)


