Saturday, May 2, 2015

Featured Artisan: Melanie Senko

If you are a fan of handmade, one-of-a-kind accessories, you really should check out Melanie Senko's work. An original member of Hamilton's urban homesteading collective, The Beehive, Melanie exudes creative, indie cool. When I first met Mel, she and her husband, Jesse, were blogging for the National Post about their goal to stay out of the supermarket by growing their own produce and sourcing their food locally. They were also featured in Pure Green magazine, which is sold at Anthropologie. (Seriously, Mel, can you get any cooler?)

But I digress...

On Mother's Day weekend, Melanie (who happens to be a mother of four) will be selling her highly covetable leather-and-fabric bags, as well as a selection of quilts and more at Definitely Not The Mall, an artisan fair taking place at the Waterford Old Town Hall, May 8 & 9. The show is open to the public on Saturday and, best of all, it's free! Waterford is only about a 30 minute drive from Hamilton and is where the Senkos now call home. For a taste of what Melanie's been up to, take a look at these lovelies:


Cotton and Leather Zippered Pouch


Cotton Baby Bonnet


Cotton Charley Harper Crib Quilt

Sewing has always been a part of Melanie's life. Her mom was a sewer and Melanie started out doing needlework (rug hooking, embroidery) and progressed to Barbie clothes and pajama pants. She finds much of her inspiration in nature and working in the garden, which is reflected in her choice of fabrics and colours. Decor-wise, Melanie's describes her preferred style as natural, rustic minimalism. She and her husband like to feature old textures and objects in their home, and a tour of their house is like touring a well-edited vintage-modern shop--a veritable feast for the eyes! They are currently in the process of moving into a new country home, but perhaps they will allow me to do a future post on their new house, post-renos...

To see more of Melanie's work, you can visit her Web site at www.melaniesenko.com; you are sure to be inspired. It goes without saying that she consistently inspires me. 

Friday, April 24, 2015

A Designer Look for Peanuts

I have long lusted after Marimekko fabrics, especially the Finnish brand's signature Unikko red and white poppies print, but the price has always been way over my budget. You can buy the fabric at EQ3 in Canada for $80 a yard, or you can get a 20' X 20" pillow for $52. After doing a quick Etsy search, however, I realized I could just buy someone's leftover fabric remnants for ten bucks, and make my own cushion for a fraction of the price. The odd sizing of the remnants means you won't be able to have a nice, square cushion, if that's your bag, but you can likely find the right size to make a lovely lumbar pillow like I did (I actually had enough fabric to make two).


I just made an envelope back style cushion cover, which is, honestly, so easy to make. I've said it before, and I'll say it again, once you learn how to sew the world becomes your oyster!

So, there you have it, my tip for the day. You can have the high-end look you see in all the decor mags AND save a nice chunk of change.

Monday, April 20, 2015

Whimsical Croquet Mallet Boot Rack

I think many people assume that I am the creative one in our family since I always seem to be working on some "project" or other and I blab about it on this blog. But the truth is, my husband, Rob, is a pretty creative guy, too. Not only is he creative, but he is extremely supportive of whatever I want to do around the house (keeping in mind that my ideas are mostly all of the cheap and chic variety--I'm not spending thousands of dollars here). Without Rob's help and proactive nature, a lot of my ideas would remain just that--ideas. Flights of fancy, if you will.

So, while Rob is the muscle behind some of my more ambitious projects (e.g. anything that involves wallpaper) he has also come up with some pretty ingenious ideas of his own. Given that the rainy season is upon us, I thought I would highlight my favourite invention of his: this playfully clever boot rack that he made out of some broken croquet mallets and a few pieces of scrap wood.


Before, we used to keep our boots outside so we wouldn't track mud into the house, but that meant getting our socks wet when we put our boots on after the rain...yuck! Now, we don't have that problem anymore, and the rack looks so gosh-darn cute on our back patio.

I tell ya, I feel like the luckiest woman in the world to be married to this super smart, super funny, talented guy who shares my love of whimsy (and it doesn't hurt that he's easy on the eyes).


Love you forever, Rob...thank you for everything you are and everything you do. 


Monday, April 13, 2015

Spring Has Sprung Decorated Birch Poles

Finally...yesterday was the first day it really felt like spring here in Southwestern Ontario. The sun was shining, the mercury reached 18 degrees...it was pure bliss!


But with the trees still noticeably absent of leaves and the grass a mosaic of browns and yellows, it's hardly beautiful to look at. I don't even want to put out a spring planter yet for fear of overnight frost. But the beautiful weather had my creative juices flowing and I wanted to do something to add a little happy to my front porch, so I came up with this super simple idea: decorated birch poles to bridge the gap between winter and spring.


What you''ll need to make this at home:

  • Two or more birch poles
  • Scraps of fabric, ribbon and twine
  • Rusted metal star-shaped ornaments (optional)

I cut several lengths of different scrap fabrics and tied them once tightly around the poles at staggered intervals. (I really like off-white linen for this project because it looks just like peeling birch bark.) I wound some sections with brightly coloured ribbon and black twine for a more random/textured effect and added these star ornaments that I happened to have kicking around. The poles would look just as stunning without the ornaments, though, or perhaps you could use something else to decorate them with--fishing lures might look cool, for example.


This is such an easy project, but I really like how inviting it makes the front porch look in these dull brown days before everything starts to bloom again. It would also be a fun thing to do with the kids.

That's it for now...it's another beautiful day and I've got some "real" work to do before I can go out and enjoy it! Happy Spring, everyone!

Saturday, March 28, 2015

DIY Scrabble Tile Clock

When I heard the terrible news that Target was closing all of its stores in Canada, one of the first things I stocked up on was washi tape at 40 per cent off...pretty ridiculous, considering that piles of washi tape (along with Toronto Maple Leafs merchandise) are among the last remaining items in the store.


Still, I was psyched about all the pretty patterns I picked up and itching to do some sort of craft with them, so when I came across this upcycled plastic clock project in the book, Mod Podge Rocks! by Amy Anderson, I knew I had struck gold! Not only does this project make use of many different types of washi tape, it also asks for repurposed Scrabble tiles, which I had a whole box of. I also had a perfectly ugly cheap clock I had no qualms about taking apart.

Before


After 


To make this oh-so pretty timepiece, you will need:

  • Matte Mod Podge (available at Michaels and other craft stores)
  • Dimensional Magic Mod Podge 
  • Inexpensive clock
  • 1 sheet of scrapbook paper
  • Repurposed Scrabble tiles
  • Washi tape in a variety of patterns
  • X-Acto knife
  • Glue gun and glue sticks
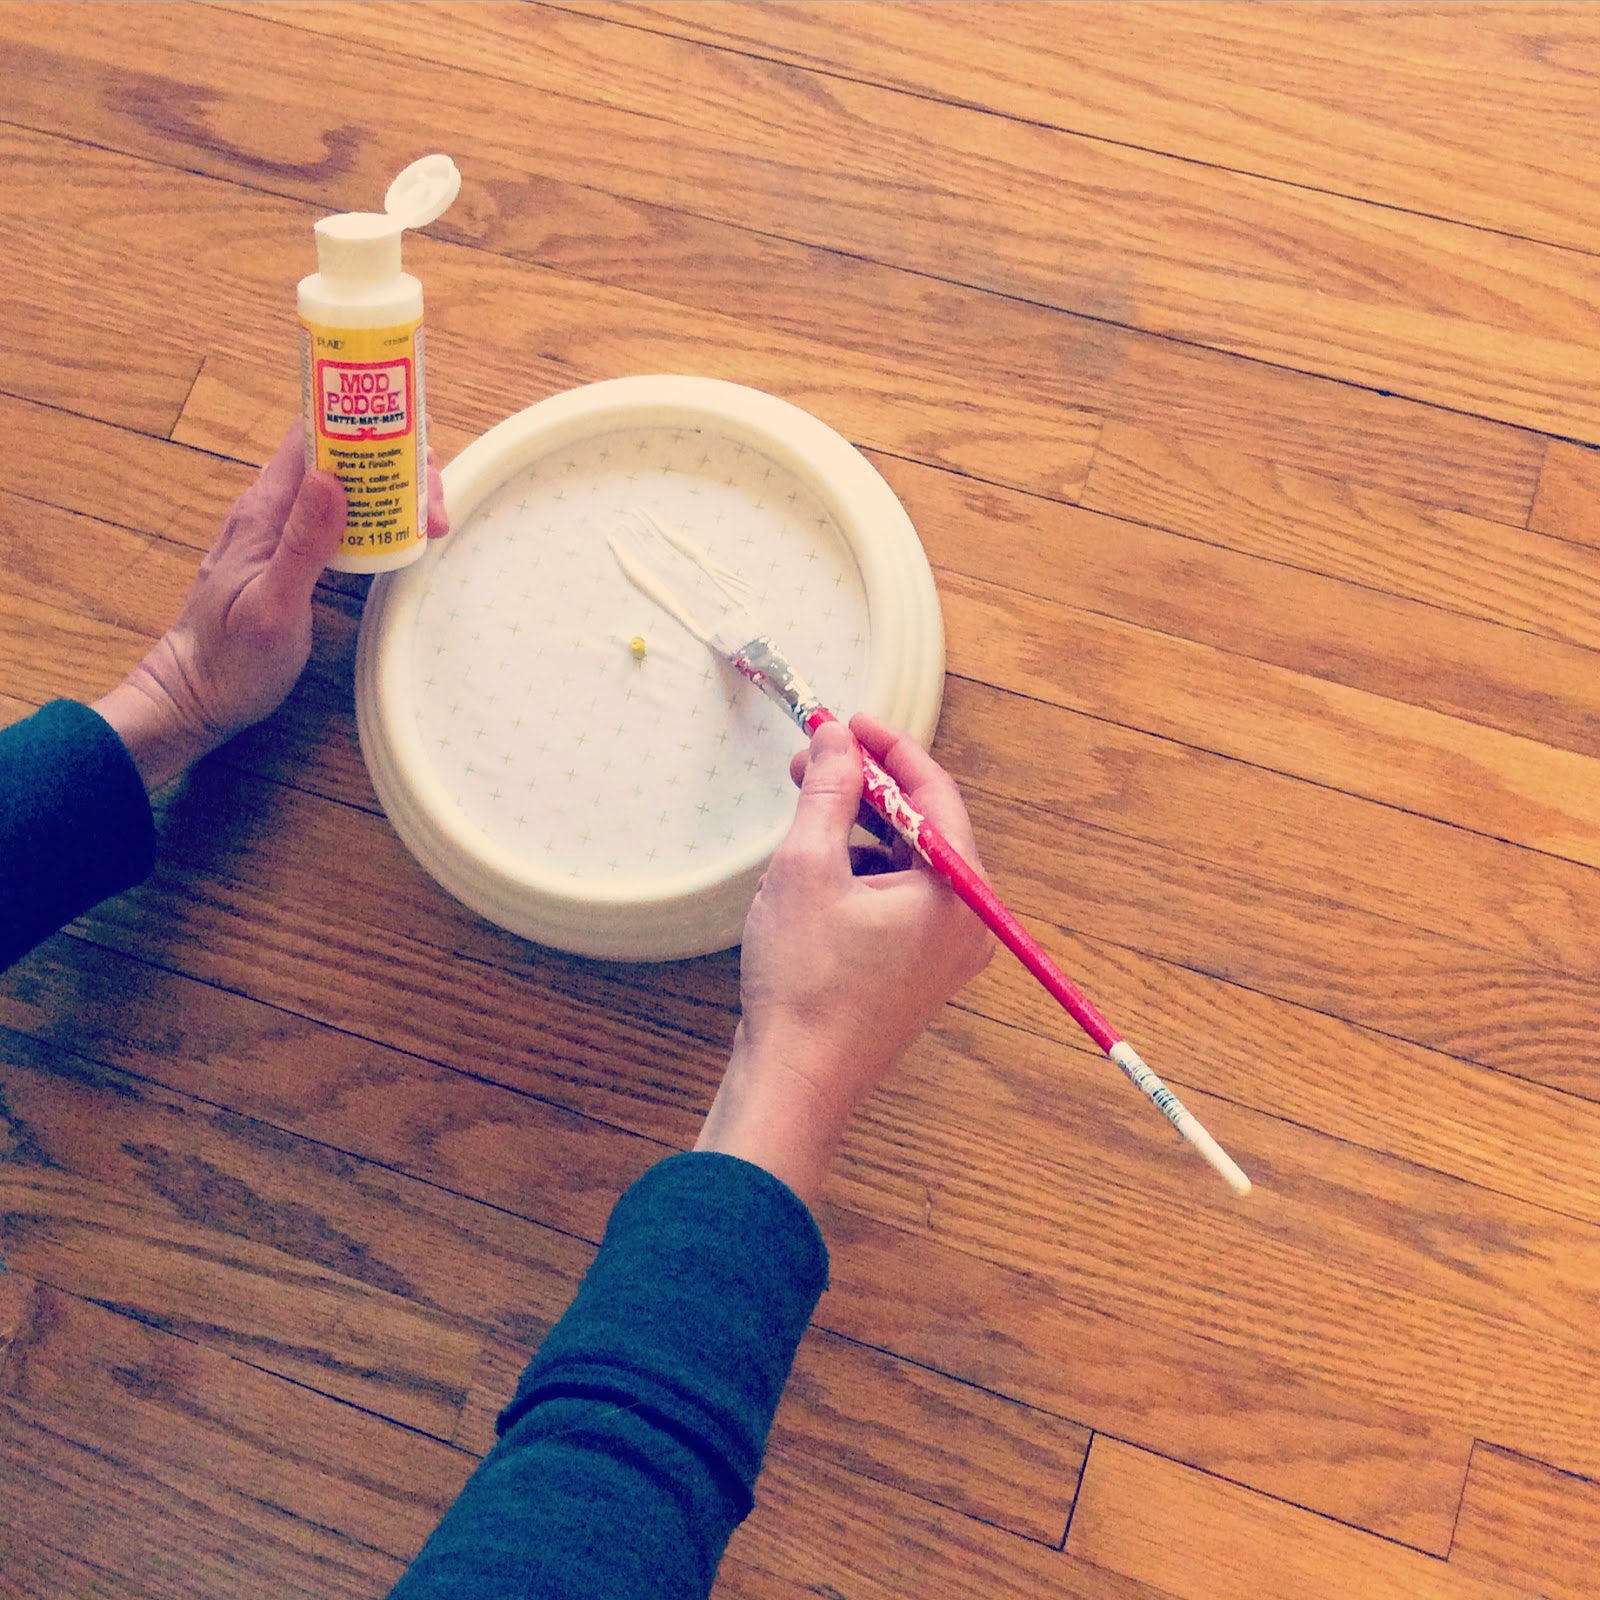
Begin by carefully removing the clear plastic cover and hands. You can use the cover to trace a circle onto your scrapbook paper and then cut it it out. Position the paper over the clock face and mark a dot where the hole is for the hands. Then remove the paper and make a small "X" over the dot with your X-Acto Knife. Apply a medium layer of Matte Mod Podge to the clock face, position the paper over it and use your fingers to smooth it down. Allow it to dry. Apply two topcoats of Matte Mod Podge to the paper, allowing the first coat to dry before applying the second.


Using your X-Acto knife, cut your washi tape to fit one side of your Scrabble tiles. Apply the Dimensional Magic Mod Podge to over the top of the tiles. (You may need more than one coat to achieve the desired dimension.) 


Use a glue gun to attach the tiles to the clock face and replace the hands and cover. (If the hands are too long to fit over the tiles, you may need to trim them with scissors--or wire snips if they're metal.) Ta-da! You are DONE! Now go hang your brand new, beauteous clock somewhere you can admire it and bask in your DIY prowess!


Sunday, March 22, 2015

Kids' Sewing Project

I don't know why, but I'd been procrastinating when it came to teaching my kids how to sew. I bought Dace a used Barbie sewing machine over a year ago and she'd asked to use it several times since then but I kept putting it off. But today, being the last day of March Break, seemed as good a time as any!

For my kids' first try at sewing, I had them make super simple "stuffies" out of fabric scraps. They drew their creatures on paper first, and then we cut them out to use as patterns, making sure to keep the shapes as basic as possible so they would be easy to sew. I still ended up helping a lot, but I think the girls had fun. We used my machine, and they were both a little scared of it--Violet couldn't even reach the pedal--but hopefully it was a good experience overall, and their dolls turned out pretty cute.

Dace's Bunny


Violet's Puppy


We totally cheated by gluing on all the features, including the buttons, but we'd had enough sewing for one afternoon...and there was a lot of clean up to be done!


(BTW, polyester fiberfill is perfect for creating Napoleonic hairstyles!)


I actually think Violet was a little on the young side for this project, although my friend Melanie's five-year-old daughter is already quite the accomplished sewer, so ya never know! I think I might do a basic pillow case with them next time, as the long, straight lines make it an ideal beginner project. 

Okay, this wiped-out mama is going to go relax with a glass of wine and an episode of House Hunters now...till next time!


Tuesday, February 3, 2015

Three Crafts for a Snowy (or Rainy) Afternoon

So, yesterday was a SNOW DAY for the girls (cue ear-splitting screams of joy), and I took it as the perfect opportunity to try out some of the ideas in this terrific book by fellow blogger www.soulemama.com. I got it from the library, and I have to say it is by far my favorite craft book that I've come across in a while.


I love it because of the beautiful, softly lit photographs and the fact that many of the projects are super easy and can be completed in an hour or two. There are some really cool, larger-scale projects that I want to try, but for now I picked three I thought the girls and I could handle in a day: papier-mache bowls, a fabric mouse pad and a "family heart" (AKA the cutest craft ever...scroll down to see what I mean).


I hadn't done papier-mache with the girls at home before and it turned out to be so much fun and way less messy than I anticipated. We made a homemade paste with a 1/2 cup of flour, 2 1/2 cups of water and a tbsp of salt heated in a saucepan over medium heat for 5-10 minutes, then allowed to cool down, and it was ALMOST enough for three medium-size bowls. As per the instructions in the book, we first wrapped our bowls that we used as molds in aluminum foil (making sure to smooth out wrinkles), then covered them in four layers of newspaper strips dipped in glue (covering the outside of the bowl only). For our final layer, we used a decorative paper. Then we left our bowls to dry in the sun.


By the end of the day, they were still not completely dry, so we will have to wait to paint the insides! Once they're dry, all you have to do is gently remove the aluminum foil from the bowl, and then peel it from the papier-mache. Stay tuned for those results!


Next up was this sweet little mouse pad. I had been looking high and low for one of these darned things, but who knew you can't find them anywhere anymore! (Oh, I'm sure Staples carries some basic black ones, but I wanted something prettier.) And for some reason I never thought of making one until I saw the instructions in this book. It's a great, simple project for a beginning sewer and a handy accessory for people like me who are allergic to the built-in touch pad on their laptop. ;)


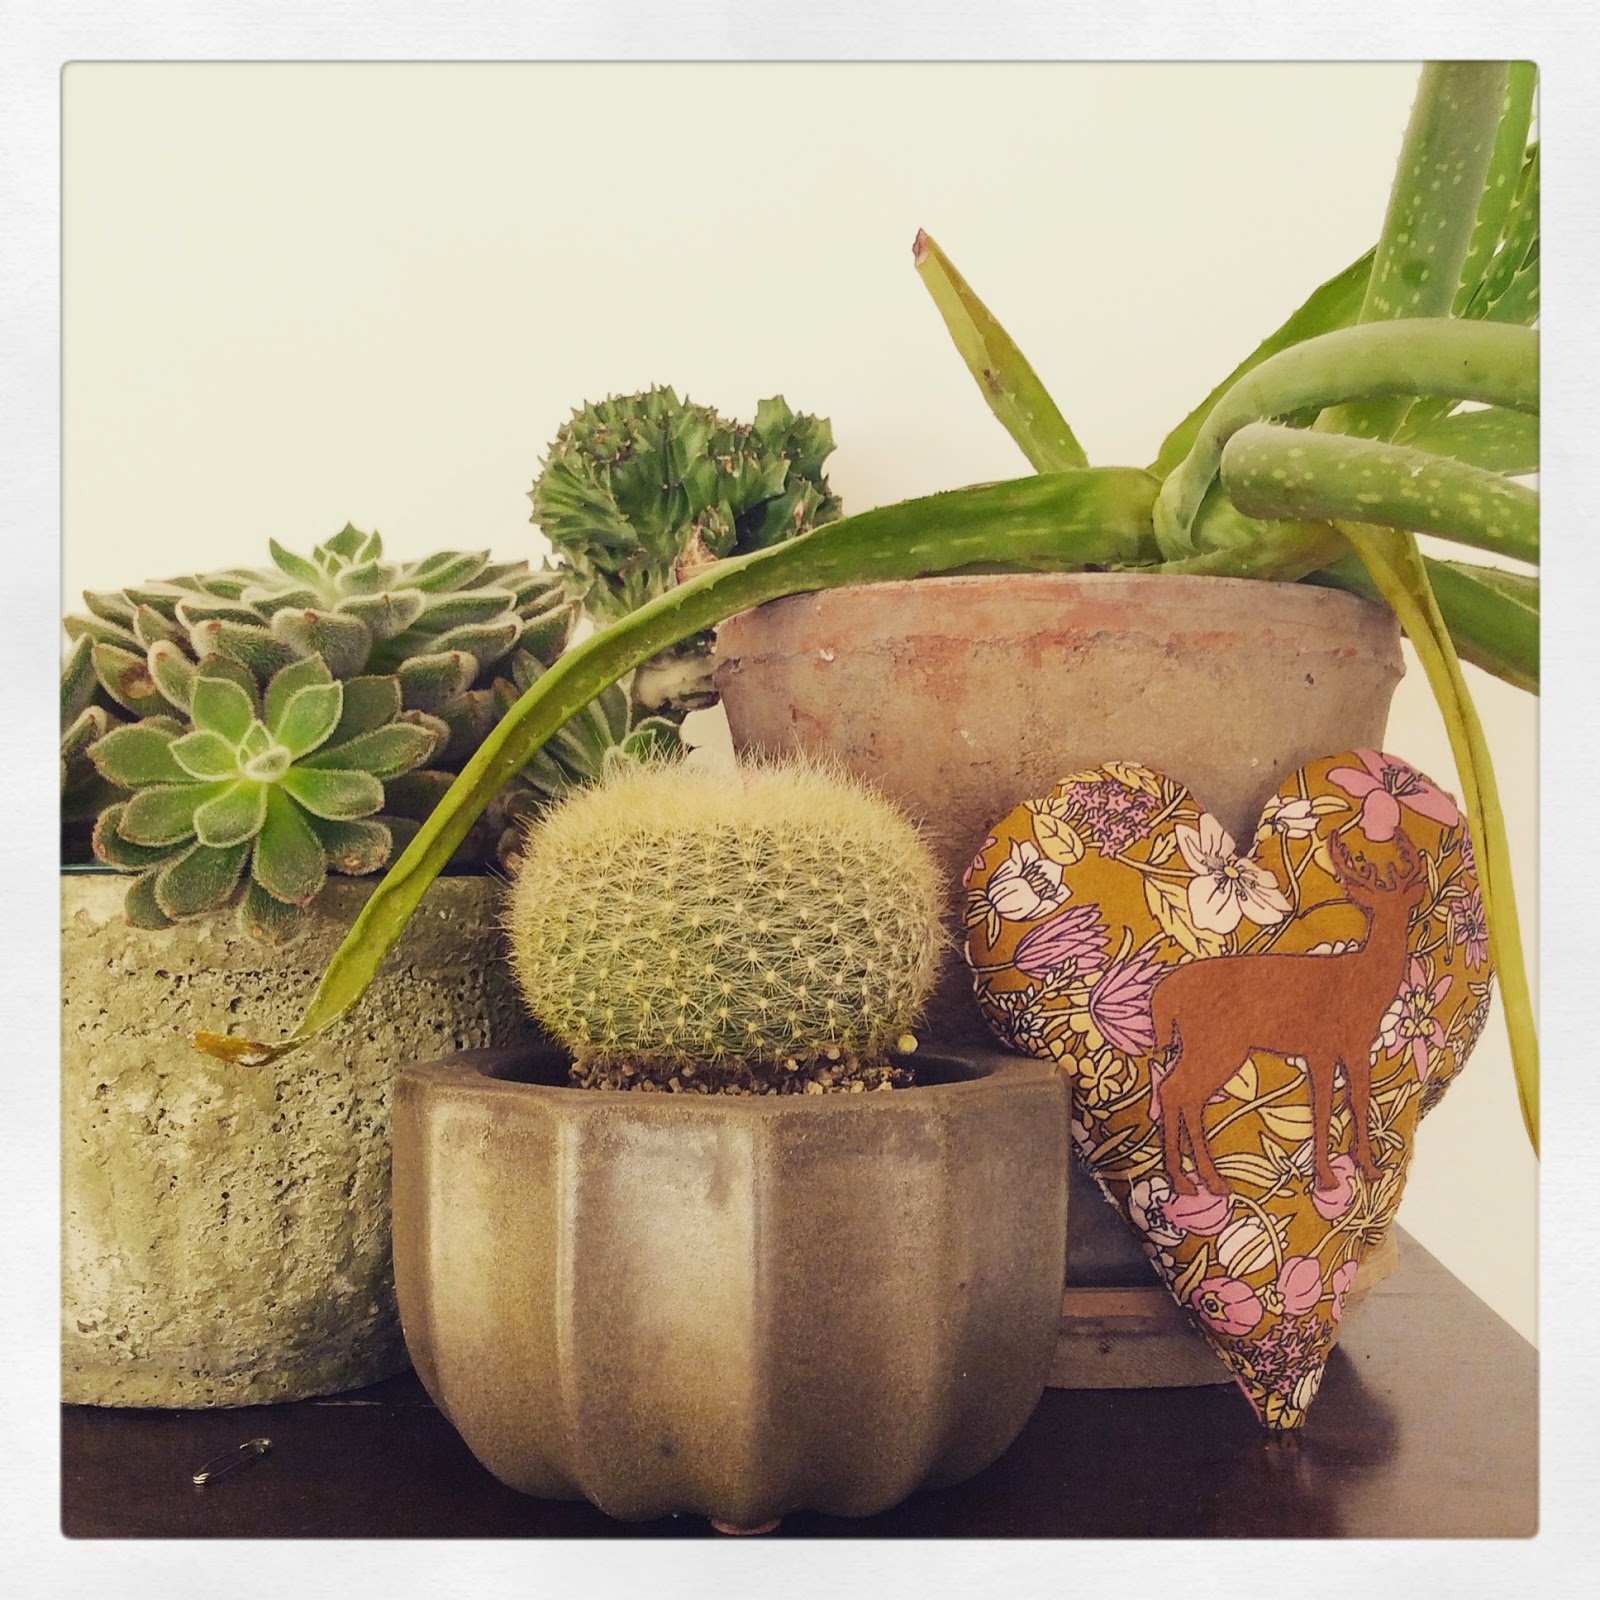
The project I was most excited about is this "family heart," which I think is the cutest thing ever! The idea is that whenever a family member goes away on business, or for a sleepover, or whatever, they can take this little heart pillow with them and know they are not alone. Sigh. Isn't that awesome? I stuffed mine with dried lavender so it smells lovely and decorated it with this iron-on deer, but you can decorate yours however you like. (The book suggests sewing a tiny woolen pocket to the front--to hold a love note, perhaps?)


Amanda Blake Soule's book gets five big, shiny stars from me. There are so many more projects I would like to try that I'll be renewing this one, fo shizzle! Till next time, friends...